 Get it for my Mac (48 MB)


 PowerPhotos
3.4.9
- Version
- 4.28
- Developer
- Kuvacode Oy
- Interface in
- English
- Licence on file
- K'ed by TNT team
- macOS it runs on
- macOS 10.12 or later
- Chip support
- Intel 64-bit
In the edit
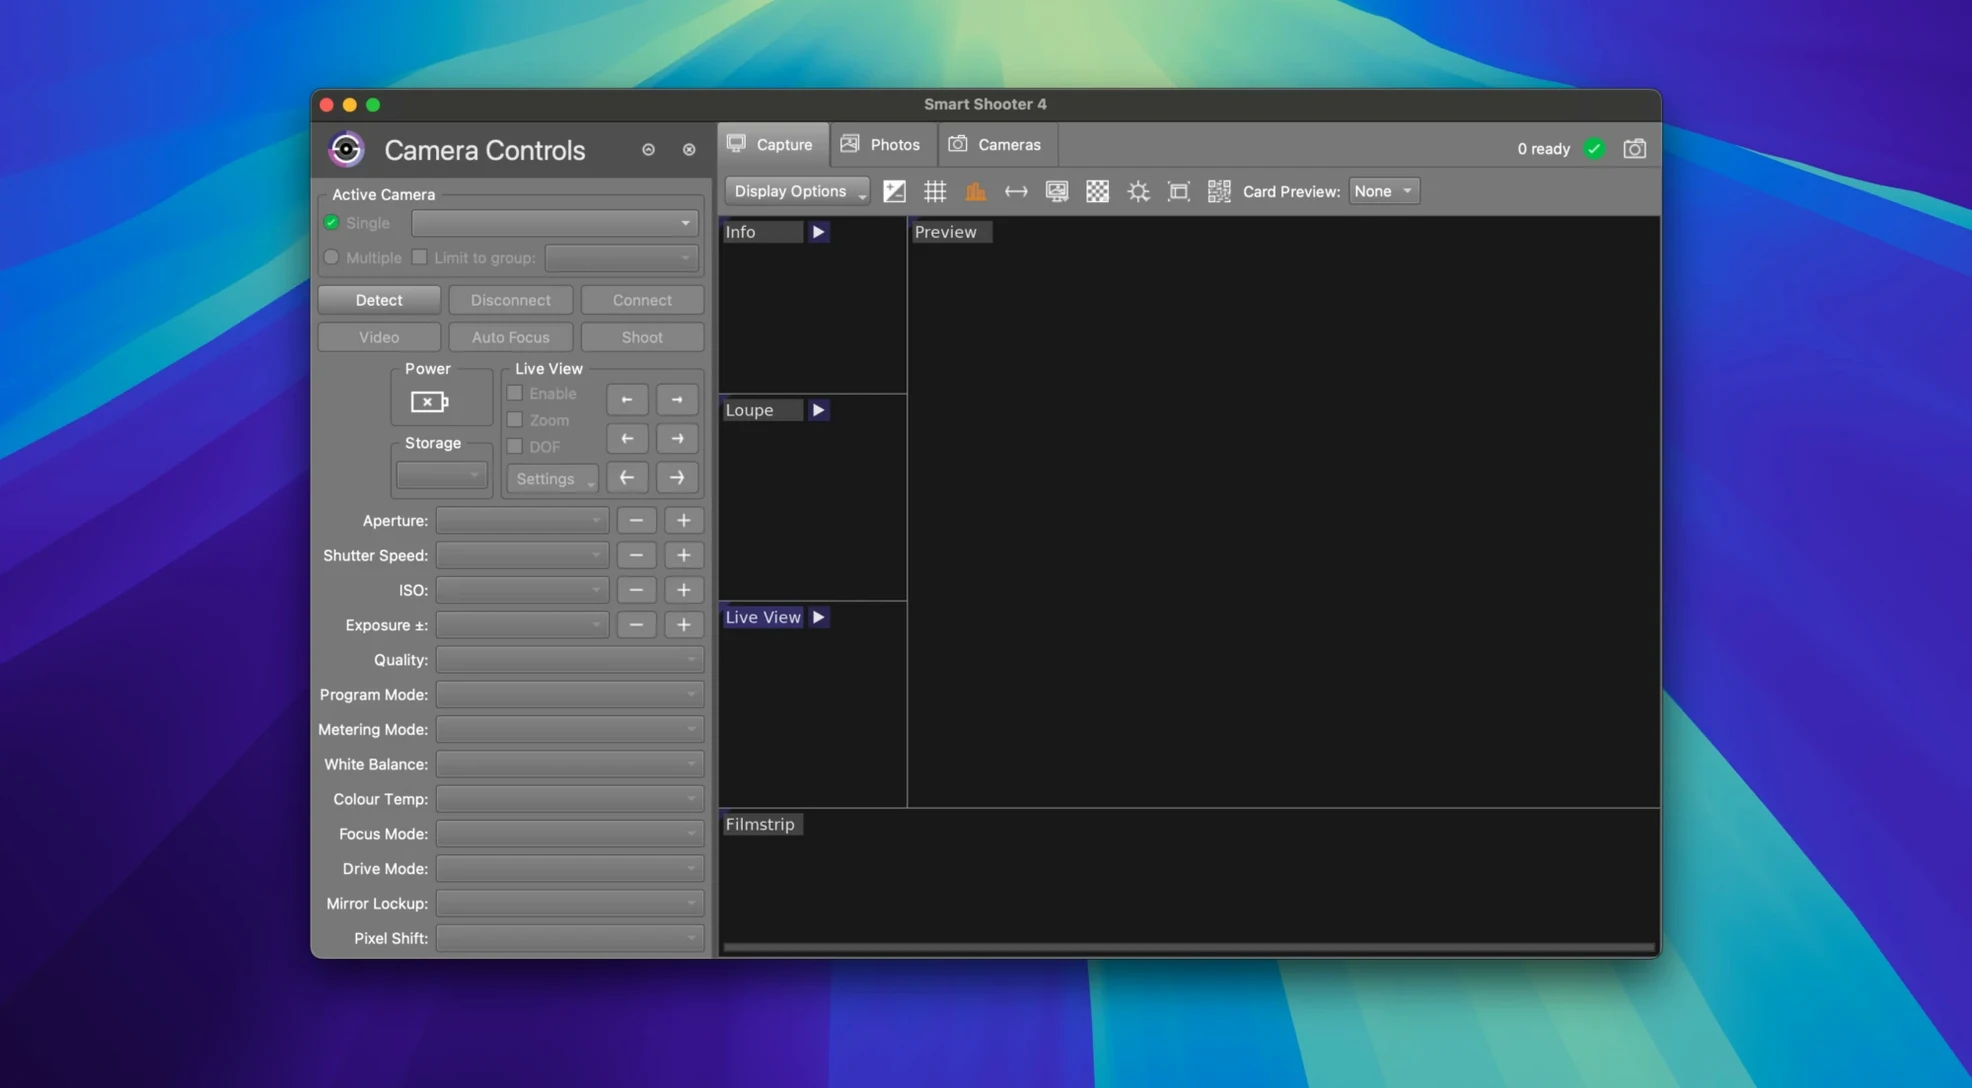
Smart Shooter is the Mac app that lets you control a digital camera from your computer, tethered and in real time. It sits alongside Lightroom and Capture One on a working photographer's shelf — not for editing, but for the moment just before: framing, triggering and adjusting settings without touching the camera. The live view shows up on your screen, and you can script automated sequences that shift exposure, focus or timing between shots. It saves time on product shoots, time-lapses and any job where the camera needs to be a remote eye while you stay at the Mac.
| Detail | Info |
|---|---|
| Developer | Kuvacode Oy |
| Version | 4.28 |
| Interface language | English |
| Architecture | 64-bit Intel |
| Min. macOS | 10.12 Sierra |
You plug in, the app sees the camera, and you work from the keyboard. For anyone who shoots tethered regularly, it earns its spot next to the photo tools you already open every day.
Setting up a tethered product shoot from scratch
Let's walk through a typical scenario: photographing a small product against a white background. Connect your camera to the Mac with a USB cable — Smart Shooter picks it up almost immediately. Open the live view window to see exactly what the lens sees, then adjust focus using the on-screen controls. You don't need to lean over the camera or bump the setup.
Set your exposure manually in the app: aperture, shutter speed and ISO all appear in the control panel. Take a test shot. The image downloads to a folder you choose beforehand and appears on screen within seconds. Check the histogram, adjust the lighting, and shoot again. Once you're happy, you can lock those settings and shoot a batch without touching the camera again.
For a sequence of shots with different angles or focus points, you can script a short series. The app handles the triggering and saves every frame. It keeps your hands free to reposition the product or adjust the background between shots.
Forget to set your camera to manual or aperture-priority mode
The most common one is forgetting to set the camera to the right mode. Smart Shooter needs the camera in manual or aperture-priority mode to control settings from the Mac. If the dial is on auto or a scene mode, the app can see the camera but can't change much.
Another snag: not checking the USB cable. A loose or low-quality cable drops the connection mid-shoot, and beginners often blame the software. A decent tethered cable with a locking connector saves the headache.
Beginners also tend to skip the folder setup. Smart Shooter saves images to a default location unless you tell it otherwise. It's worth picking a project folder before you start, so your files land where Lightroom or Capture One can find them straight away.
Start with a cable check when Smart Shooter can't see your camera
Smart Shooter not detecting the camera is the question I hear most. First, check that the camera is switched on and the USB cable is properly connected at both ends. If it still doesn't show up, try a different cable or a different USB port on your Mac. Some cameras need their USB mode set to "PC connect" or "tethered" in the camera's own menu — that one catches people out.
Live view lag can happen if your Mac is working hard on other tasks. Close apps you aren't using. The live view feed uses the camera's own processing, so it's generally responsive, but a busy system can introduce a small delay.
If images aren't downloading after a shot, check that the save destination folder still exists and is writable. If you moved or deleted it between shoots, the app has nowhere to put the files. Reselect the folder in Smart Shooter's preferences and try again.
Scripted sequences that stop partway through usually come down to a setting conflict — the script tries to change a parameter the camera doesn't support in its current mode. Switching to full manual mode solves most of these.
Mac it needs
- macOS 10.12 Sierra or later
- 64-bit Intel processor
- 100 MB free disk space
Questions I actually get
Can I use Smart Shooter with any camera?
It supports many digital cameras that offer tethered control. Check your camera model against the Kuvacode compatibility list to be sure.
Does Smart Shooter work on Apple Silicon Macs?
The listed architecture is 64-bit Intel, so it runs under Rosetta 2 on Apple Silicon machines. The minimum requirement is macOS 10.12 or later.
Installing on a Mac
- Mount the disk image and open the Gatekeeper-friendly launcher.
- Press Enter to bypass Gatekeeper in Terminal when prompted.
- Drag the app into your Applications folder.
- Launch Smart Shooter and start shooting.
Notes from photographers
Sign in or create your account to leave a comment.
No notes from photographers yet. If you have used this on a real folder, say which camera and which Mac.
