
 Get it for my Mac (3.8 GB)





 Luminar AI
1.5.5
- Version
- 1.26.0
- Developer
- Skylum
- Interface in
- English, German, Spanish, Italian, Chinese (Traditional), Chinese (Simplified), Korean, Dutch, Portuguese, Ukrainian, French, Japanese
- Licence on file
- K'ed by TNT team
- macOS it runs on
- macOS 11 or later
- Chip support
- Apple Silicon, Intel 64-bit
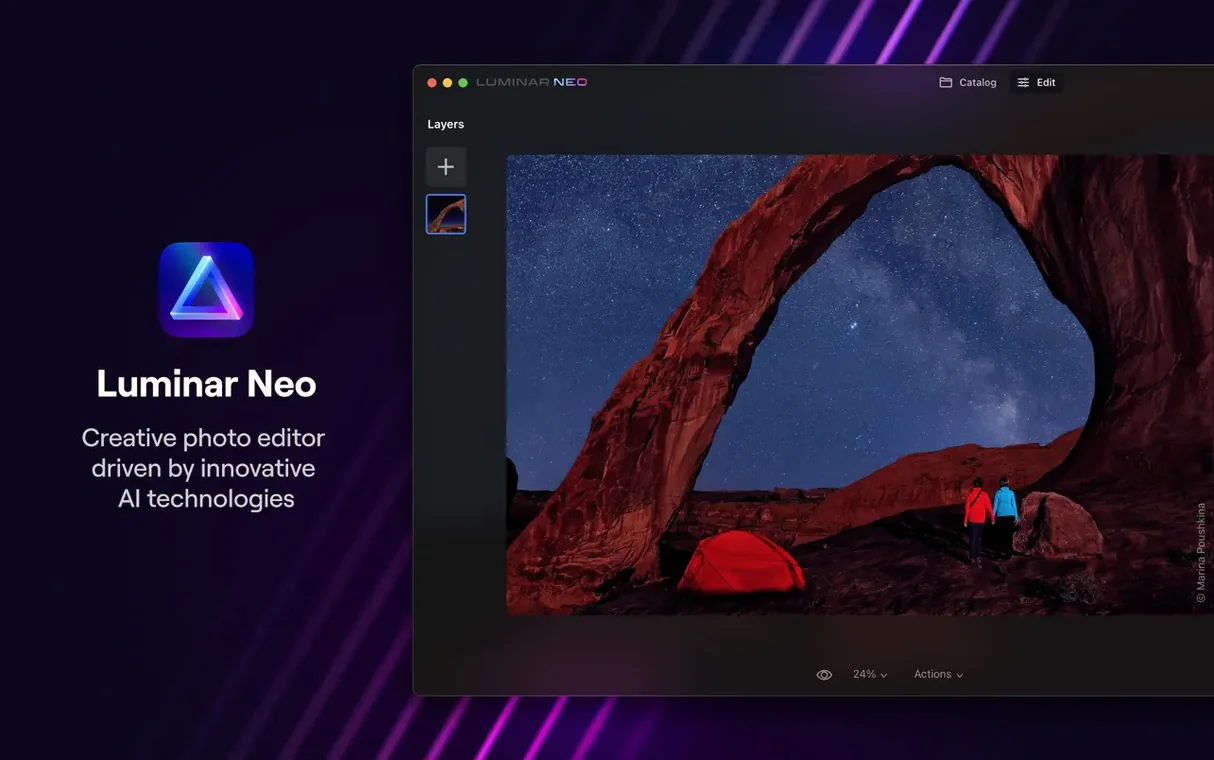
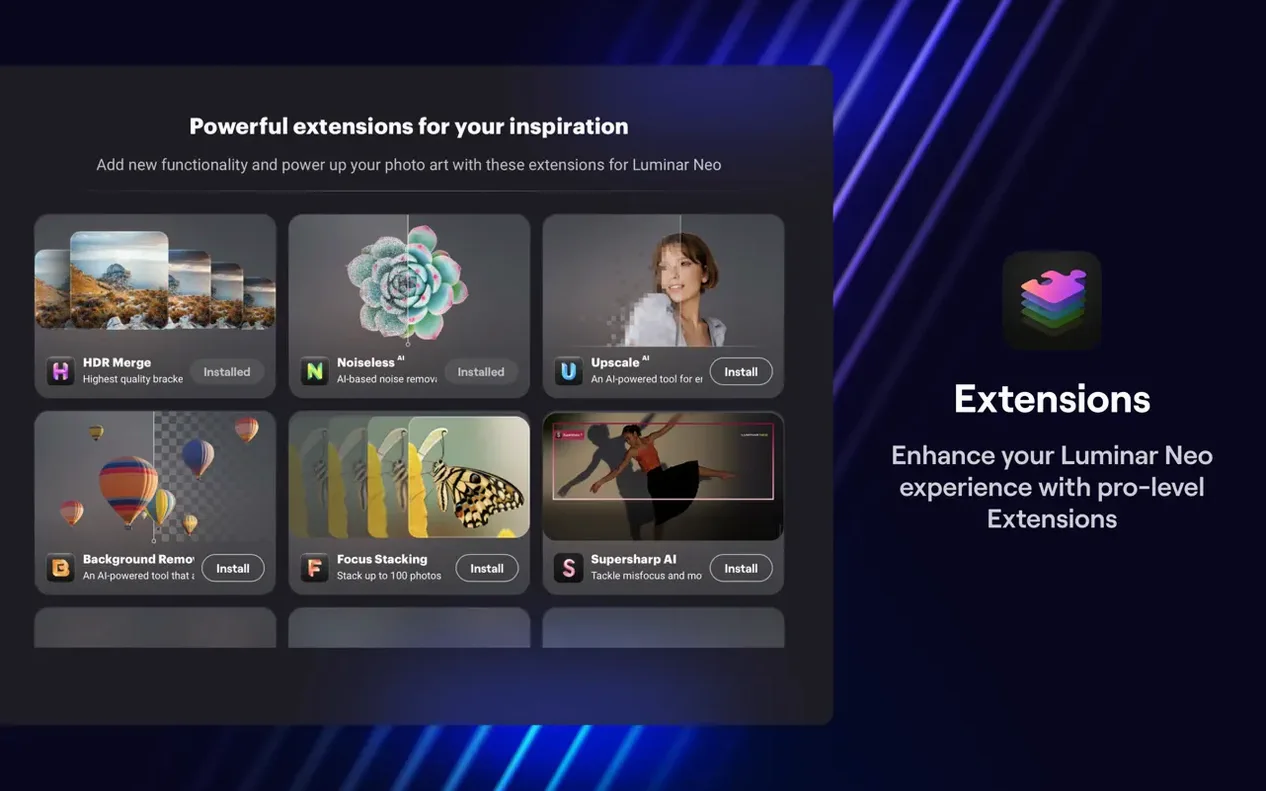
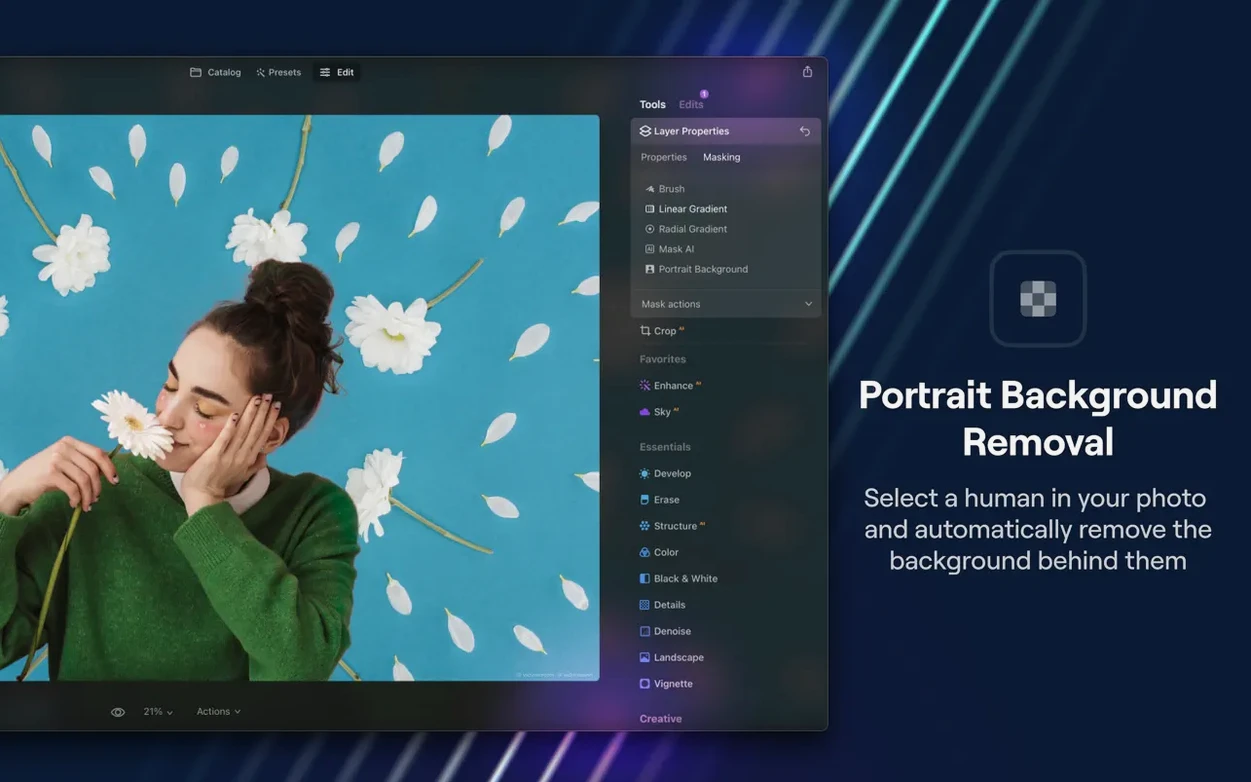
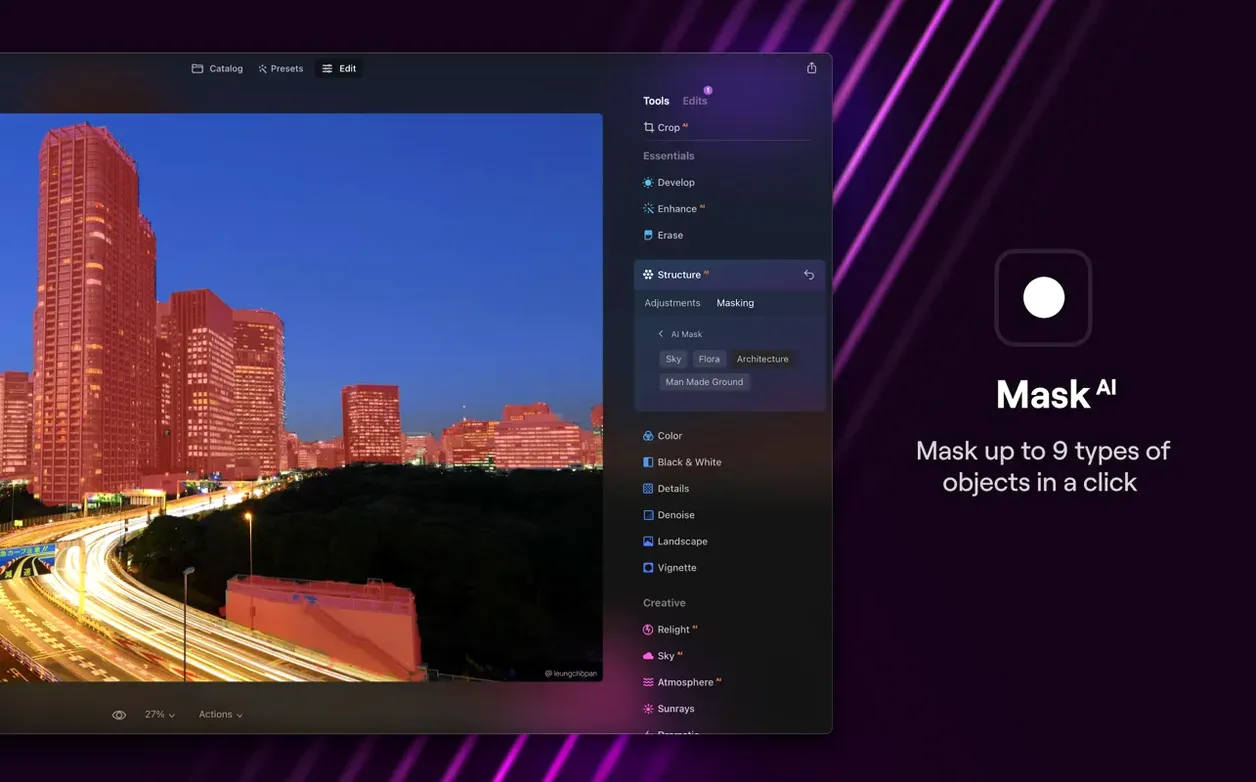
In the edit
Luminar Neo 1.26.0 introduces the AI Assistant inside both the Presets and the Edit tabs, a change that makes the editing process faster and more intuitive. For photographers who spend hours refining images, that alone is worth the update.
Swap a background in seconds
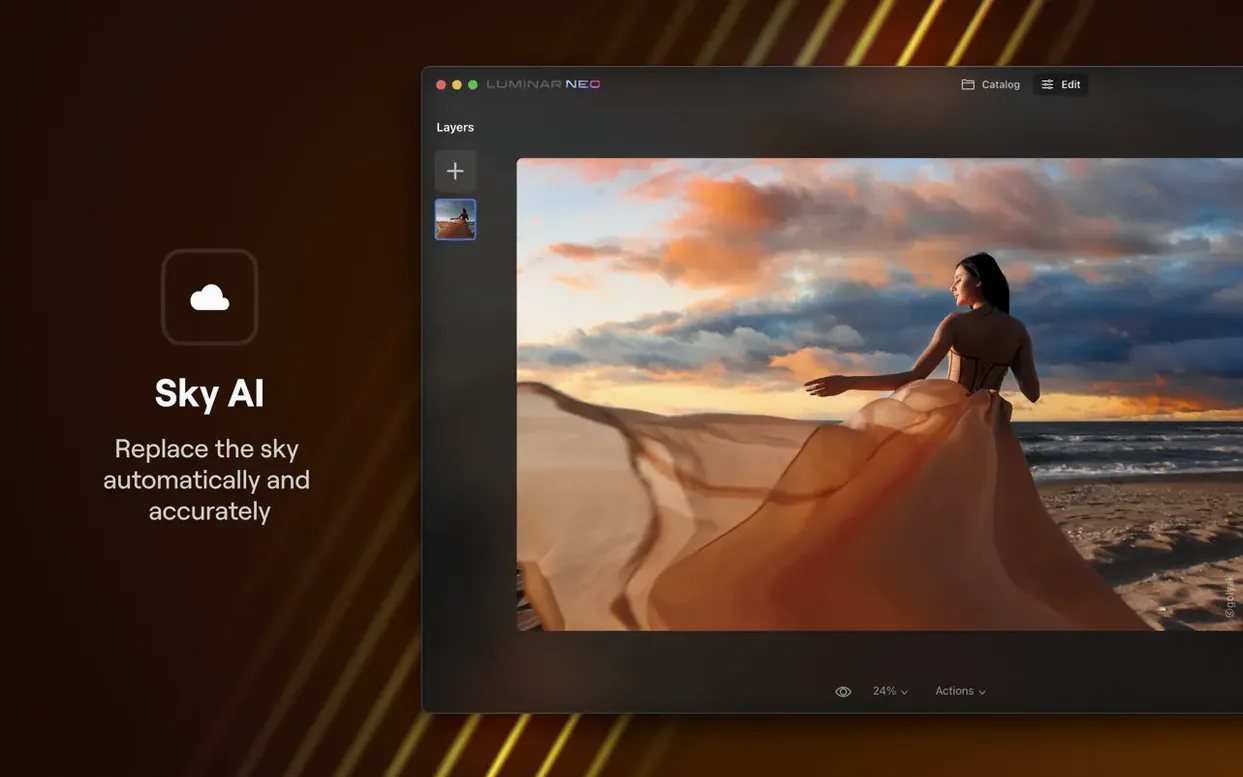
The background replacement tool works well for portrait and product shots. Select the subject, choose a new backdrop, and the AI handles the masking. Fine-tune edges when needed, but the first pass is often good enough.
Relight without losing the mood
Relighting options let you shift the light source or brighten shadows after the fact. It is not a global exposure tweak — it reads the scene and adjusts accordingly. Useful when you shot in flat midday light and want something warmer.
Dust removal that actually finds the spots
Dust spots on the sensor show up at narrow apertures. Neo’s dust removal scans the image and removes them in one go. Saves time when cleaning up a batch of landscape shots.
What Luminar Neo does not replace
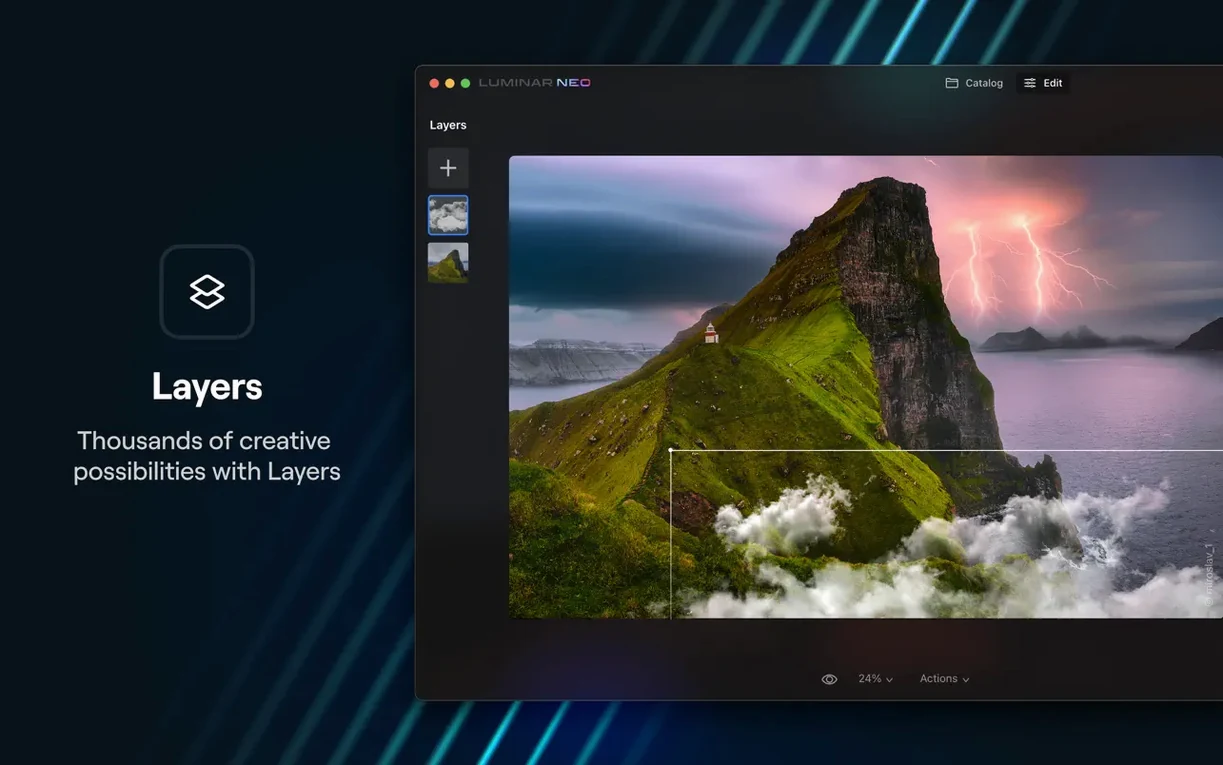
A few things come up often when photographers first look at Luminar Neo. One is whether it replaces a full DAM — it does not. You can open images from folders and organise them inside the catalogue, but the app is built for editing, not for managing tens of thousands of files long-term. Another common question is about layer support. Yes, Neo works with image layers, which makes composite work and selective adjustments far more flexible than in a single-layer editor. People also wonder if the AI tools work on RAW files. They do. Open a raw file directly and the adjustments apply to the full data before any conversion. Just keep in mind that the app does not embed sidecar files in the same way some other editors do, so your edits are stored inside the Neo catalogue or exported as a new file.
Some ask whether Luminar Neo runs on older Macs. The current version needs macOS 12 Monterey or later, and Skylum has noted that the next release will move the minimum to macOS 13 Ventura. If you are still on Monterey, this version works fine. For Intel Macs, the app runs well — the architecture support covers both ARM and x86, so nothing is lost on older hardware.
Why one-click AI tools still need your touch
The most common slip is treating the AI tools as a one-click finish. The background replacement, for example, often produces a clean mask on the first go, but edges around hair or transparent objects need a quick manual touch. Beginners skip that step and wonder why the result looks unnatural. Another mistake is overusing the relighting feature. It is tempting to pull every shadow up to full brightness, but that flattens the depth the AI worked to preserve. A small lift is usually enough.
New users also tend to ignore the layers panel. Neo supports layers, but the interface does not push them in your face the way some other editors do. If you are not checking the layers tab, you might miss the ability to stack adjustments or blend two exposures. And then there is the catalogue import. Some people import their entire photo library at once, which slows down browsing. Better to import only the sessions you are actively editing and leave the rest in folders.
A portrait edit from raw file to finished shot
Here is how a typical portrait edit might go in Luminar Neo. Open the raw file from a shoot. Start in the Edit tab and let the AI Assistant analyse the image. It will suggest a few starting adjustments — exposure, contrast, white balance. Accept the ones that look right and override the rest manually.
Next, use the dust removal tool. Even if you cleaned the sensor recently, a quick scan catches spots you missed. One pass, done. Then move to background replacement. Select the subject, choose a plain backdrop or an image from your own files.
After the background is set, apply relighting. Drop the light on the subject’s face by a small amount and let the AI adjust the falloff. Then add a layer for a subtle colour grade — something warm on the highlights, cool in the shadows. Mask the layer to affect only the subject if needed. Export as a high-res JPEG or TIFF, and the portrait is ready to send.
How Luminar Neo differs from Lightroom and Capture One
Alongside Luminar Neo, two other Mac editors come up often: Adobe Lightroom Classic and Capture One Pro. Each has a different balance of automation and control.
Lightroom Classic remains the standard for catalogue-based workflows. Its masking tools have improved, but they still rely on manual brushing or range masks more than Neo’s scene-aware AI. Where Neo does a background swap in a few clicks, Lightroom would need layers or a round-trip to Photoshop. Neo also feels faster to open and start editing, especially if you are not invested in Adobe’s ecosystem. Lightroom wins on library management and raw processing depth.
Capture One Pro is built for tethered shooting and colour grading at a studio level. Its layer-based editing is more granular than Neo’s, but the learning curve is steeper. For a working photographer who needs speed on a single image or a small batch, Neo’s AI Assistant gets you a good result faster. Capture One is the better choice if you shoot in a controlled studio environment and need precise colour tools. For event and portrait photographers on the move, Neo is often the more practical pick.
Two preferences to adjust right after installing
After installation, a few settings make the experience smoother. Head into the preferences and set the default file format to the one you export most often — JPEG for client previews, TIFF for prints. The default might not match your output habit.
Check the catalogue location. By default, Neo stores its catalogue inside the user folder, which can fill up your system drive if you work with large shoots. Point it to an external SSD or a secondary internal drive from the start. Also turn off automatic background updates if you prefer to control when the app downloads new AI models. That saves bandwidth during a busy editing day.
For display, set the preview quality to high if your Mac has the RAM to spare — 16 GB or more handles it well. If you are on 8 GB, keep it at standard and only switch to high when you need to inspect details. That keeps the interface responsive during long sessions.
New this release
- AI Assistant is now available in the Presets and Edit tabs.
- The update is designed to make editing faster, smarter, and more inspiring.
Mac it needs
- macOS 12.0 or later
- Intel or Apple Silicon
- 8 GB RAM minimum, 16 GB recommended
Questions I actually get
What is new in Luminar Neo 1.26.0?
It adds AI Assistant to the Presets and Edit tabs, designed to make editing faster and more inspiring.
Does Luminar Neo support background replacement?
Yes, it includes background replacement and relighting tools for professional-quality edits.
What are the system requirements for Luminar Neo?
It requires macOS 12.0 or later, with 8 GB RAM minimum and 16 GB recommended. It works on both Intel and Apple Silicon Macs.
Installing on a Mac
- Mount the disk image and run Open Gatekeeper friendly.
- Press Enter in Terminal to bypass Gatekeeper.
- Drag the app to the Applications folder.
- Launch the app when installation is complete.
Notes from photographers
Sign in or create your account to leave a comment.
No notes from photographers yet. If you have used this on a real folder, say which camera and which Mac.
