
 Get it for my Mac (100 MB)







 Civilization V
1.4.2
- Version
- 0.18.0.10
- Developer
- Pipliz
- Interface in
- Russian, English, German, Spanish, Chinese (Simplified), Korean, Polish, French, Czech, Japanese
- Licence on file
- Not required
- Chip support
- Intel 64-bit
- Edited with it on
- macOS Tahoe, Mac mini 2024 M4
- Out on
- 16.06.2017
- Voices in
- Music only

In the edit
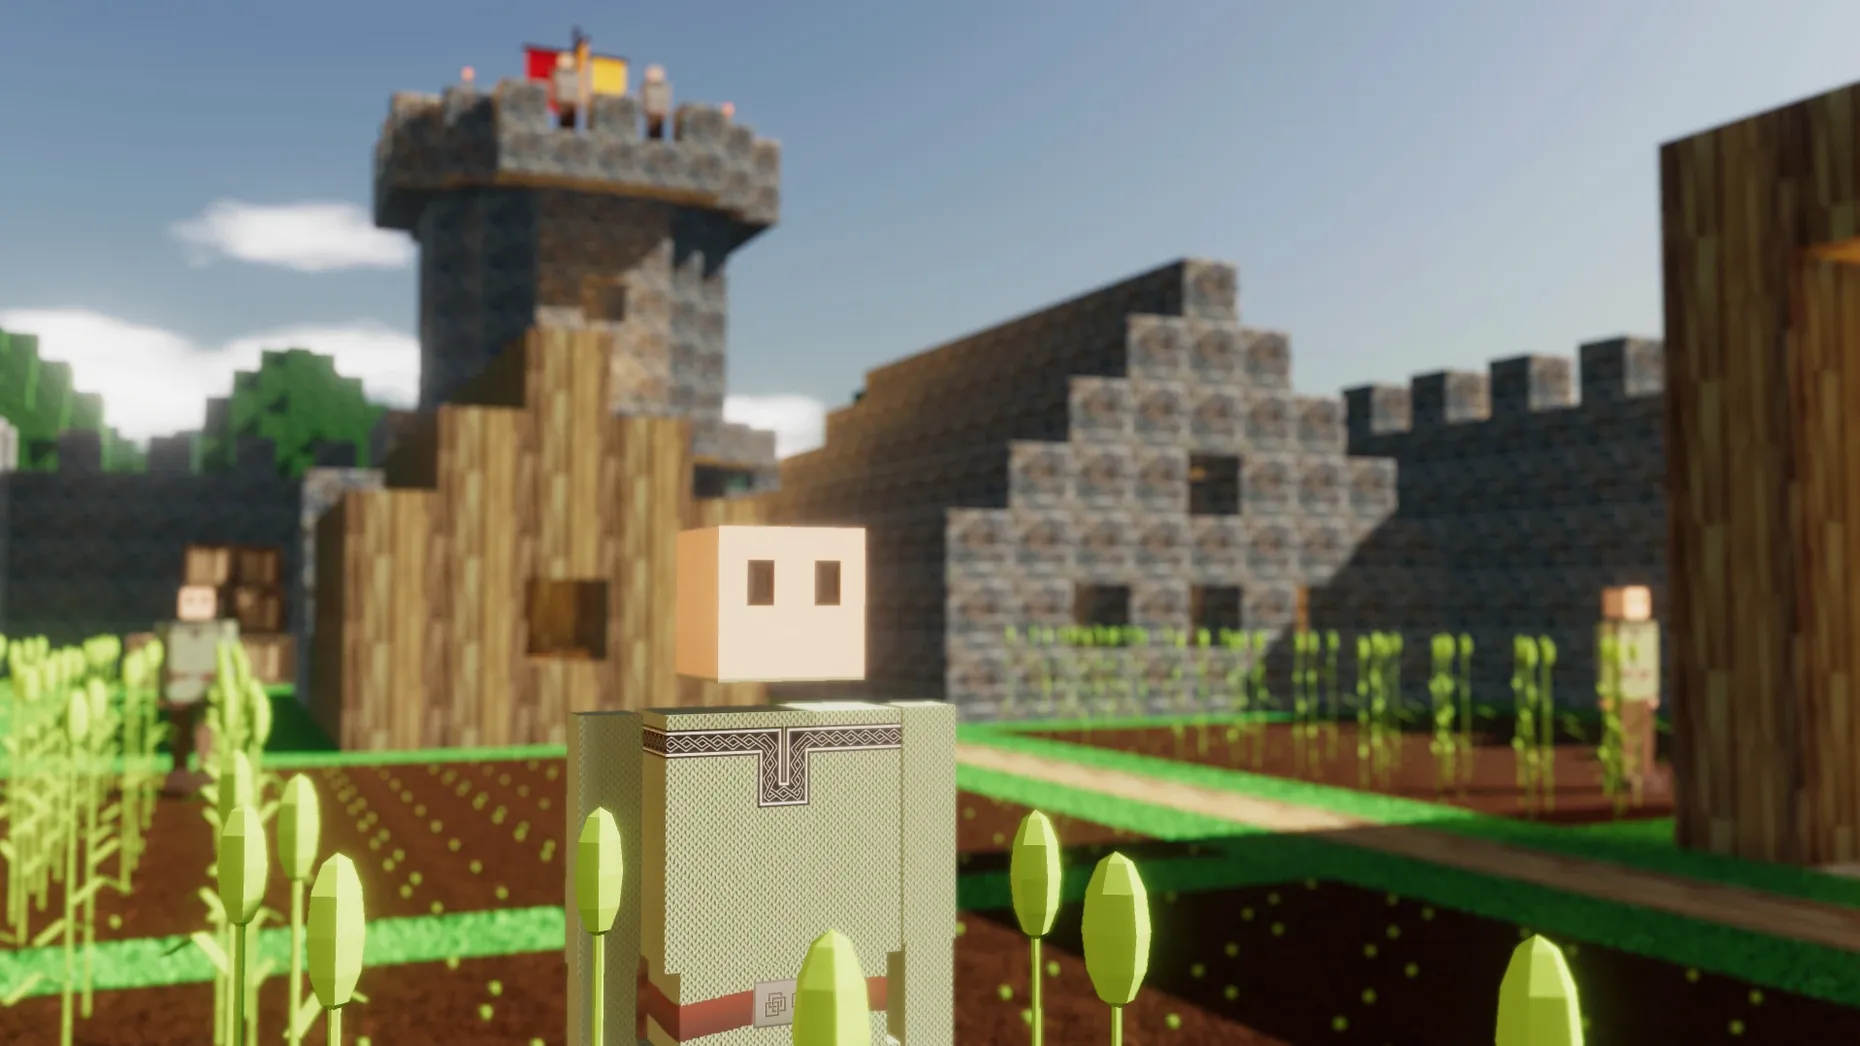
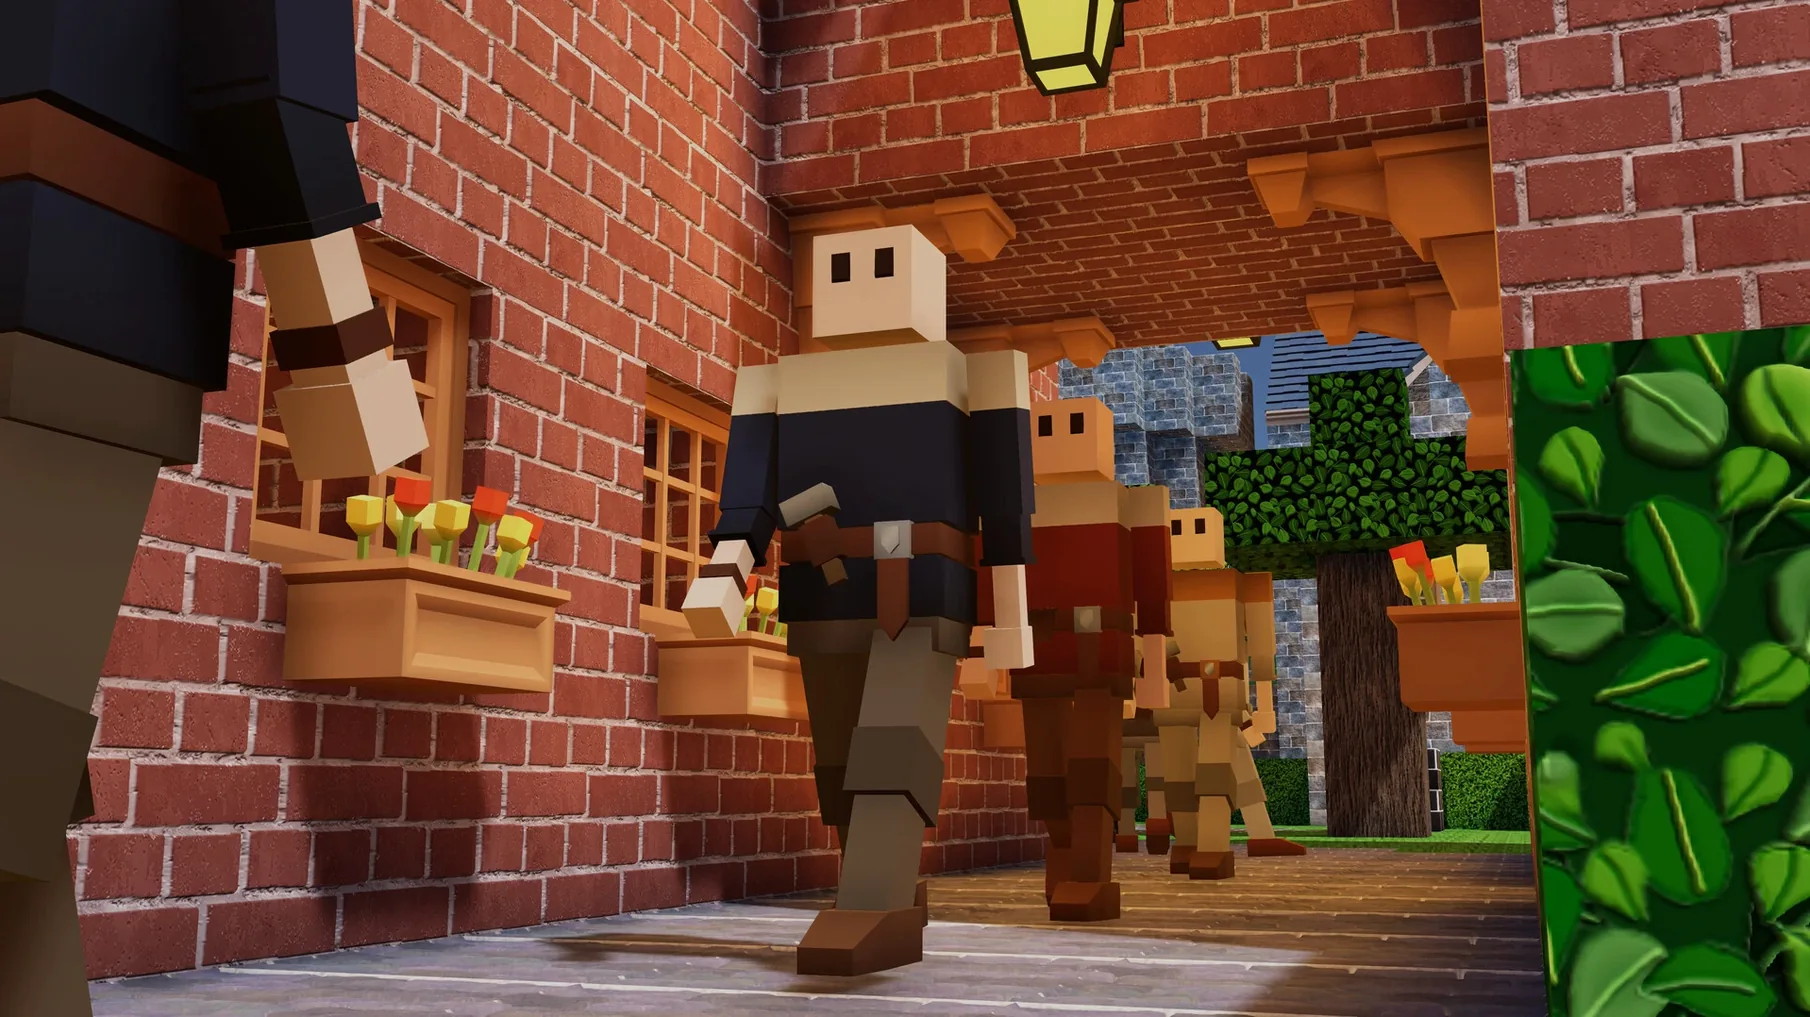
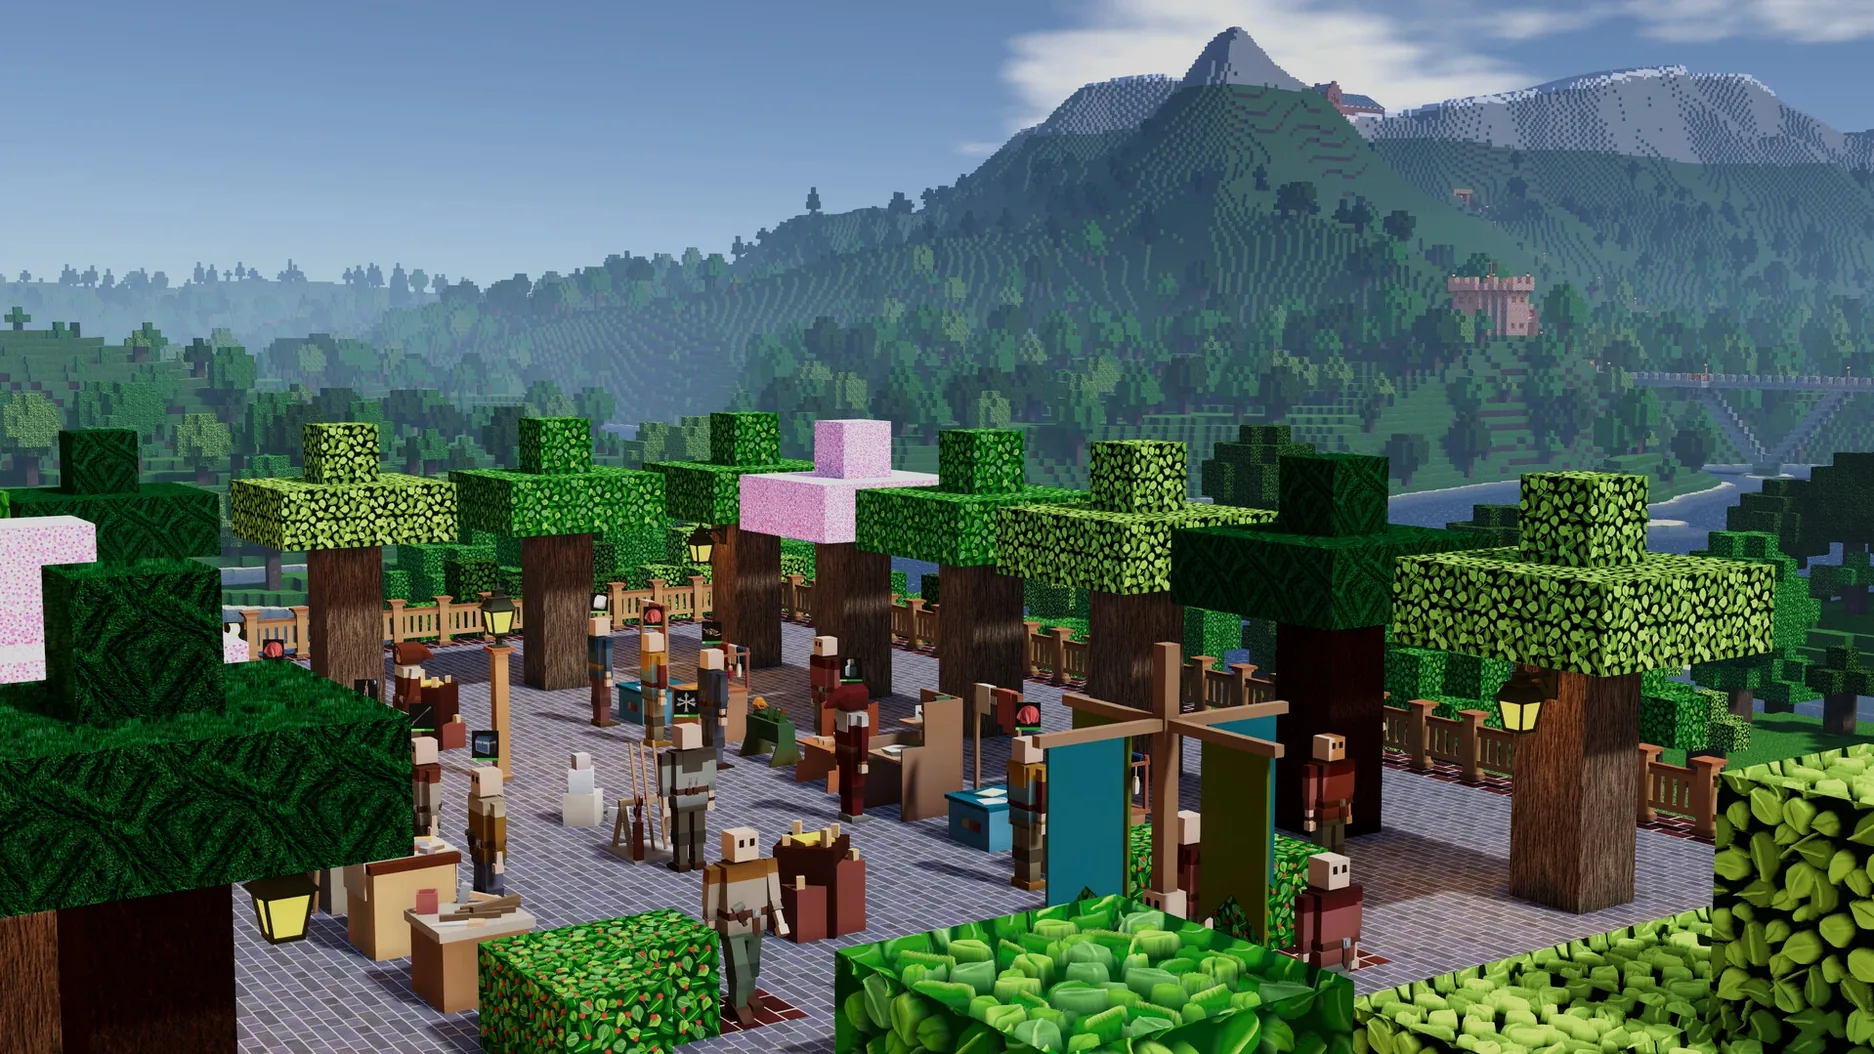
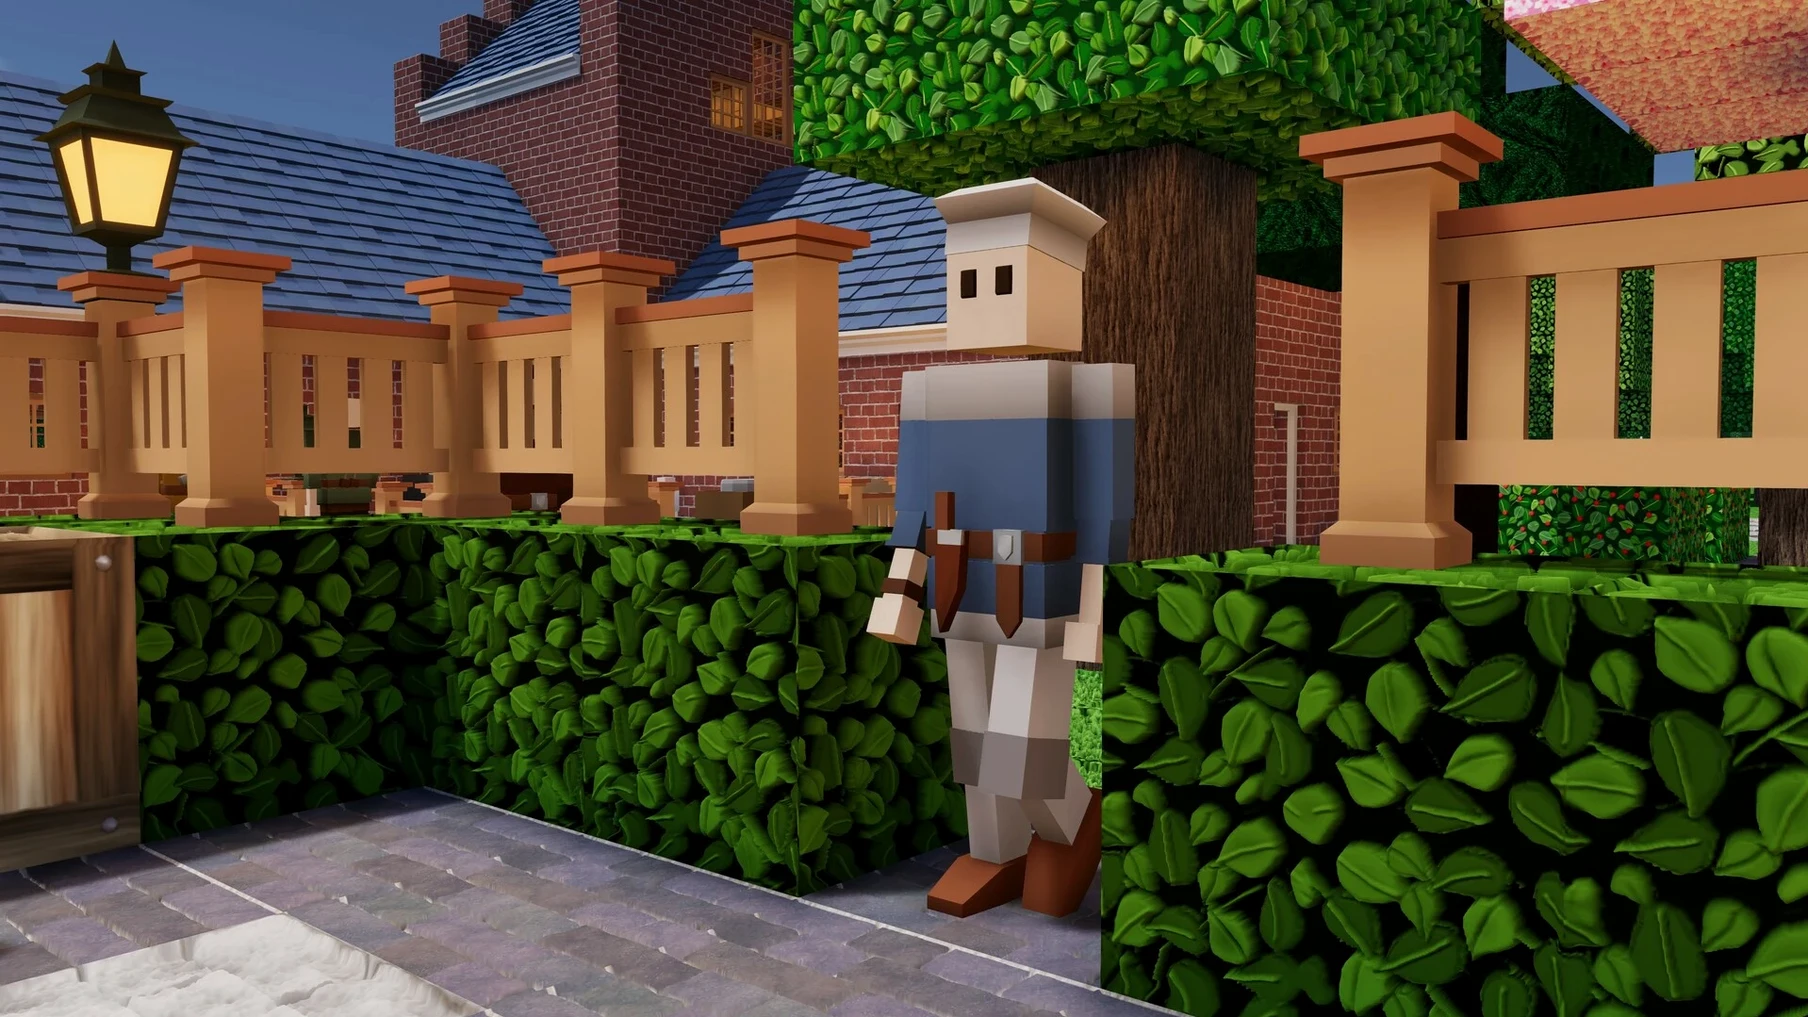
Colony Survival is a first-person colony-building strategy game set in a voxel world, where you manage guards, farmers, miners, and other colonists to keep your settlement alive and growing.
Developer — Pipliz
Release date — 16 June 2017 on Steam
Mac architecture — Intel only. On Apple Silicon Macs it runs through Rosetta 2, so expect translation overhead rather than native performance.
Tested system — macOS Tahoe on a Mac mini 2024 M4
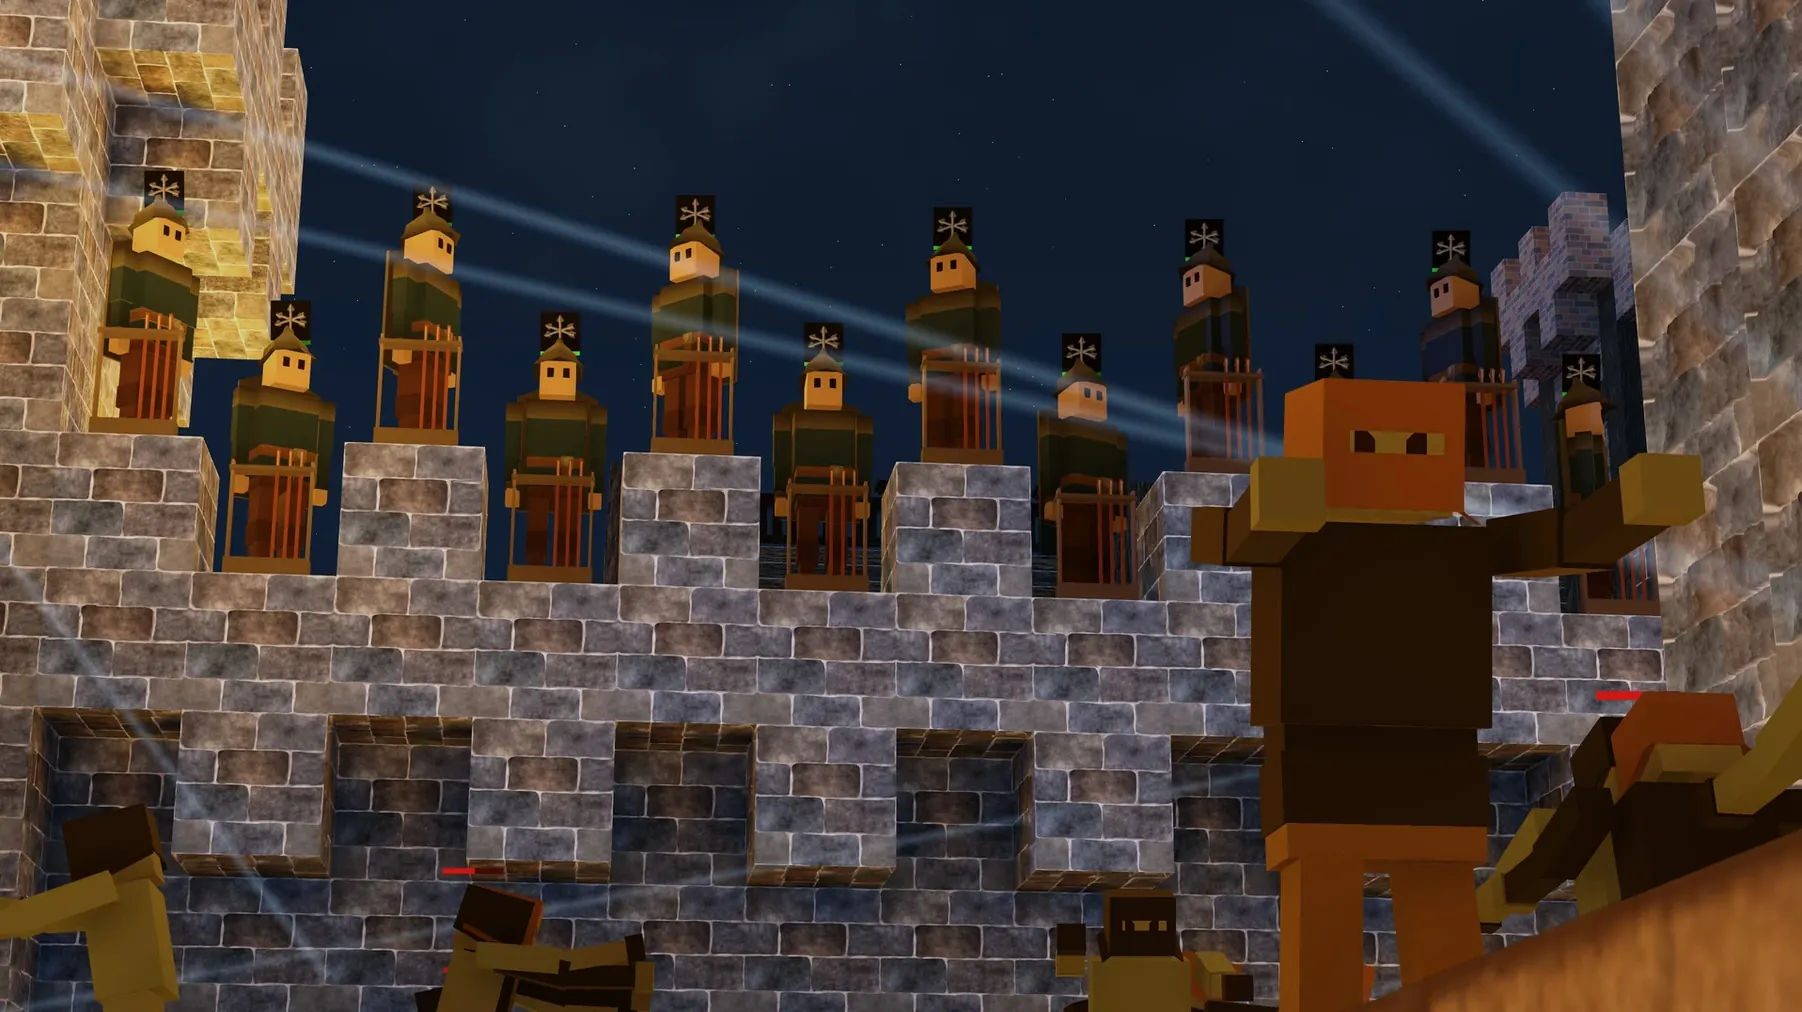
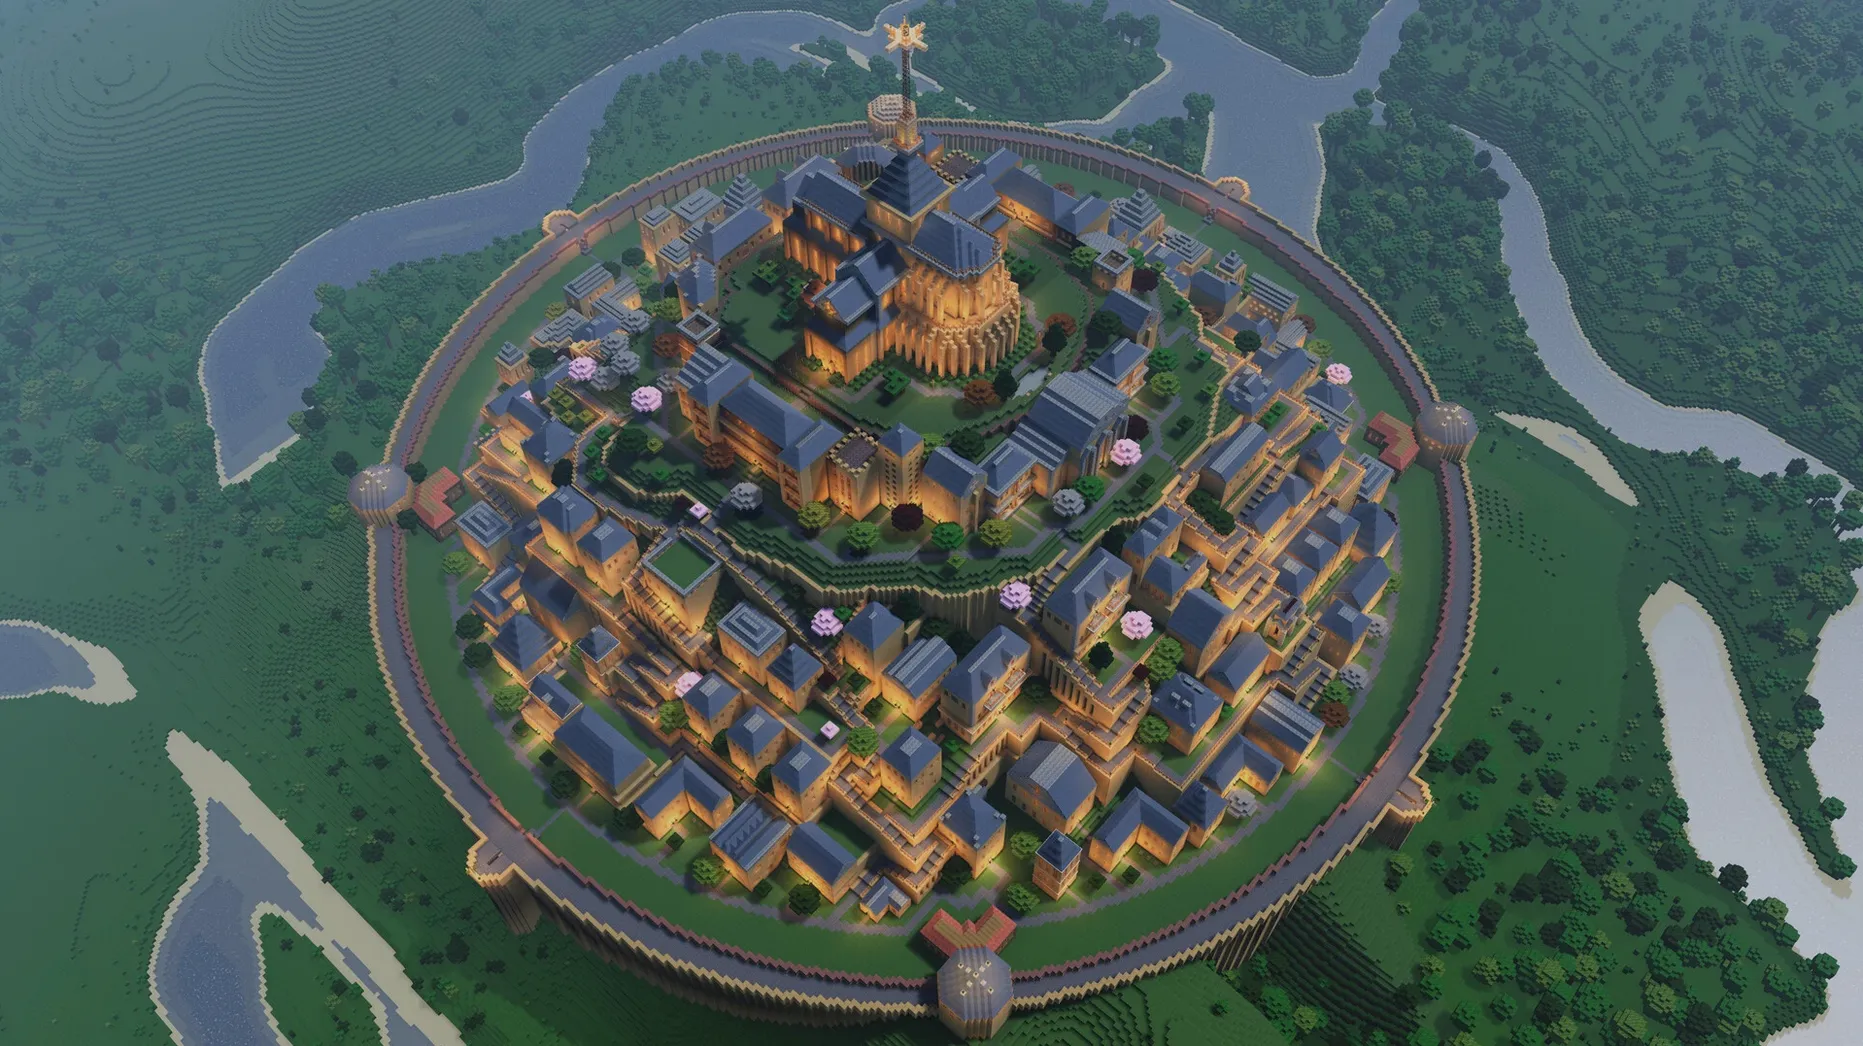
Building and defence — Walls, moats, and forts protect your colony. Bridges, tunnels, stairs, and overpasses can be built above and below ground, and outposts go up in swamps, mountains, and other regions.
Resource management — New technologies need resources found only in specific locations, so exploration and expansion matter.
Interface languages — Russian, English, German, Spanish, Simplified Chinese, Korean, Polish, French, Czech, Japanese
Music — Included
Starting your first colony — a practical workflow
Getting your first settlement off the ground in Colony Survival follows a pattern that, once you know it, makes every new game feel less like guesswork. Here is the sequence I use after placing that first flag.
First, build a small walled area around your flag. It does not need to be grand — a wooden fence or low wall is enough to slow the first few nights of monsters. Inside that area, place a bed for yourself and a few basic workstations. Assign two or three colonists as farmers and one as a miner straight away. Farmers keep you fed, and the miner digs up the stone and clay you need for walls and furnaces.
During daylight, focus on expanding your wall and adding a second layer. Monsters pathfind their way around obstacles, so a simple moat or a gap between walls forces them into chokepoints where your guards can handle them. Do not worry about towers or advanced fortifications yet — a handful of guards with basic weapons posted near the flag is enough for the first week in-game.
Once you have a stable food supply and a stockpile of stone, start working through the clay tablet technologies. The science system is your roadmap: it unlocks better weapons, new professions, and the ability to build bridges and tunnels. I like to unlock the glider early — it makes scouting for new resource deposits much faster, and it saves you from building staircases everywhere.
When you find a swamp or mountain region with resources your colony needs, build a small outpost there. A flag, a bed, a few guards, and a storage chest are all you need. Connect it to your main colony with a tunnel or a raised path, and you have a steady supply of rare materials without dragging everything back by hand.
Colonists move smarter with dynamic 3D pathfinding
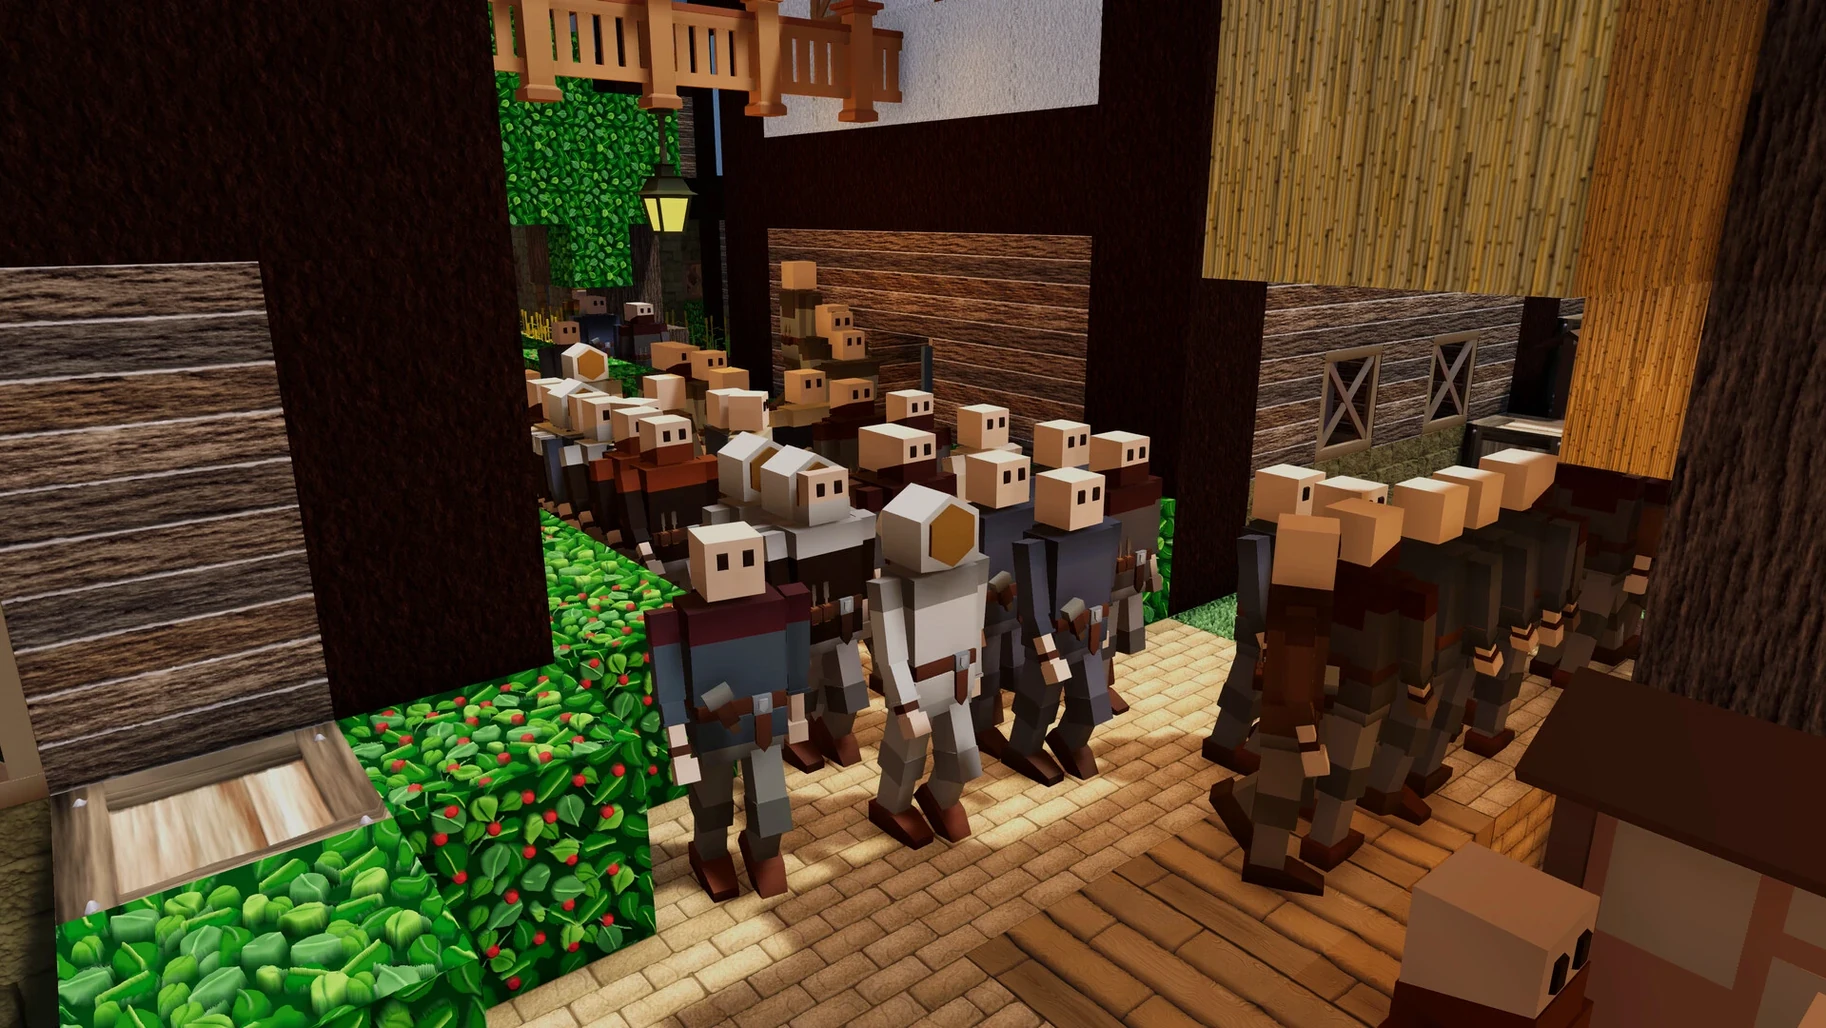
The current version, 0.18.0.10, is a stable update that focuses on polish rather than new features. For anyone who played earlier builds, the most noticeable difference is in how colonists move around your settlement. The dynamic 3D pathfinding has been refined, so guards and farmers are less likely to get stuck on stairs or at the edge of a bridge. That might sound small, but it means fewer moments where you have to demolish a block just to free a miner who got confused.
Resource balancing has also been adjusted. Rare materials now appear in slightly more predictable locations, which cuts down on the time spent wandering with the astrolabe. The printing press and rails, both late-game unlocks, feel more useful now because the science costs leading up to them have been smoothed out. You are not grinding through five dead-end technologies to reach the one you actually want.
For Mac users, the version runs identically to the Windows build in terms of features — there is no missing content or cut-down interface.
Building too big too fast invites monster attacks
The most frequent error I see is building too big too fast. A sprawling colony with wide streets and huge fields looks nice, but it gives monsters too many approach paths and spreads your guards thin. Keep your early settlement compact. You can always expand outward once you have a surplus of stone and a decent guard patrol.
Another mistake is neglecting the science system. Some players focus entirely on farming and mining, assuming technologies are optional extras. They are not. Without clay tablet upgrades, your guards stay stuck with wooden weapons, your farmers cannot build irrigation, and you never unlock the glider or the market. Check your science menu every few in-game days and queue the next research item, even if you are not sure what it does yet.
New players also underestimate how important elevation is for defence. Monsters can climb stairs and ramps, but they struggle with vertical walls that are two blocks high or more. A simple raised walkway with a wall on each side gives your archers a safe firing position and keeps the monsters below where they can be picked off. Do not build your guard posts at ground level.
Start a test world to learn the controls first
Start a test world before your real colony. Spend twenty minutes placing flags, building walls, and assigning jobs just to see how the interface works. The controls take a little getting used to, especially if you are coming from a top-down strategy game rather than a first-person one.
Learn the keyboard shortcuts early. The game does not throw them at you, but opening menus with one key press instead of clicking through panels saves a lot of time once your colony has a dozen colonists and monsters are approaching.
Keep your first colony small and defensible. A 10x10 wall with a single gate, four guards, and two farmers can survive the first week easily. Once you have the hang of night-time defence, start expanding toward the resources you need for the next technology tier.
Use the astrolabe as soon as you unlock it. It reveals resource locations on the map, and knowing where to find iron or clay early on stops you from wandering into dangerous territory unprepared. Pair it with the glider for the most efficient scouting runs.
Mac it needs
- macOS: ?
- Architecture: Intel
- Other: —
Installing on a Mac
- Open the downloaded disk image.
- Drag the app into the Applications folder alias.
- Launch the app from Launchpad after copying finishes.
Notes from photographers
Sign in or create your account to leave a comment.
No notes from photographers yet. If you have used this on a real folder, say which camera and which Mac.
